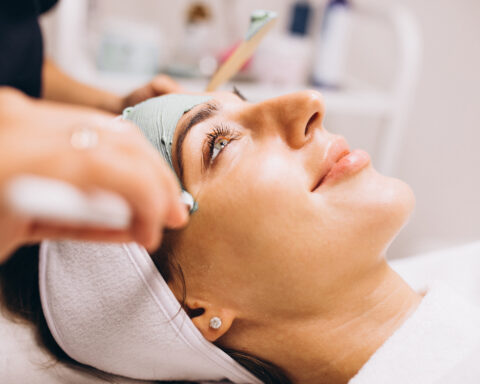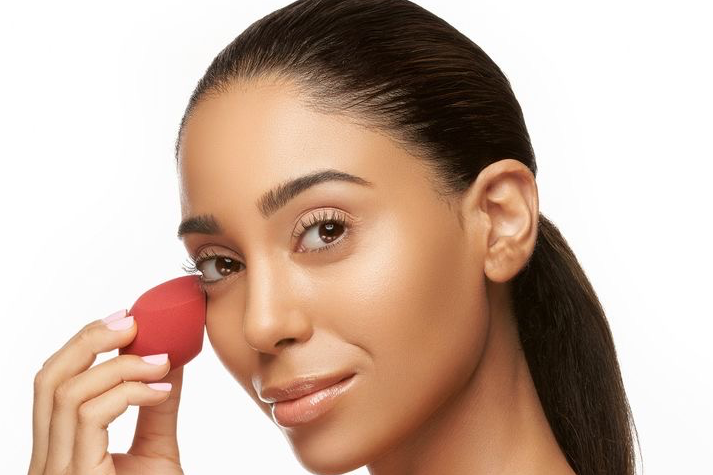
Makeup sponges can transform a drab complexion into the perfect skin you may have previously believed was only accessible to airbrushed magazine cover stars or cousin Katie on a no-sugar, no-carb diet. We’re here to tell you that you can have your cake and blend your makeup with a makeup-blending sponge. However, a warning is attached to this tiny tool of the trade. It will require some upkeep and maintenance to be in peak condition and prevent serving as a breeding ground for bacteria.
Not only does a buildup of foundation look gross and make your sponges harder to use, but dirty sponges could also harm your skin. You want to have a clean sponge at all times because, otherwise, it can harbor bacteria and moisture, which can cause breakouts.
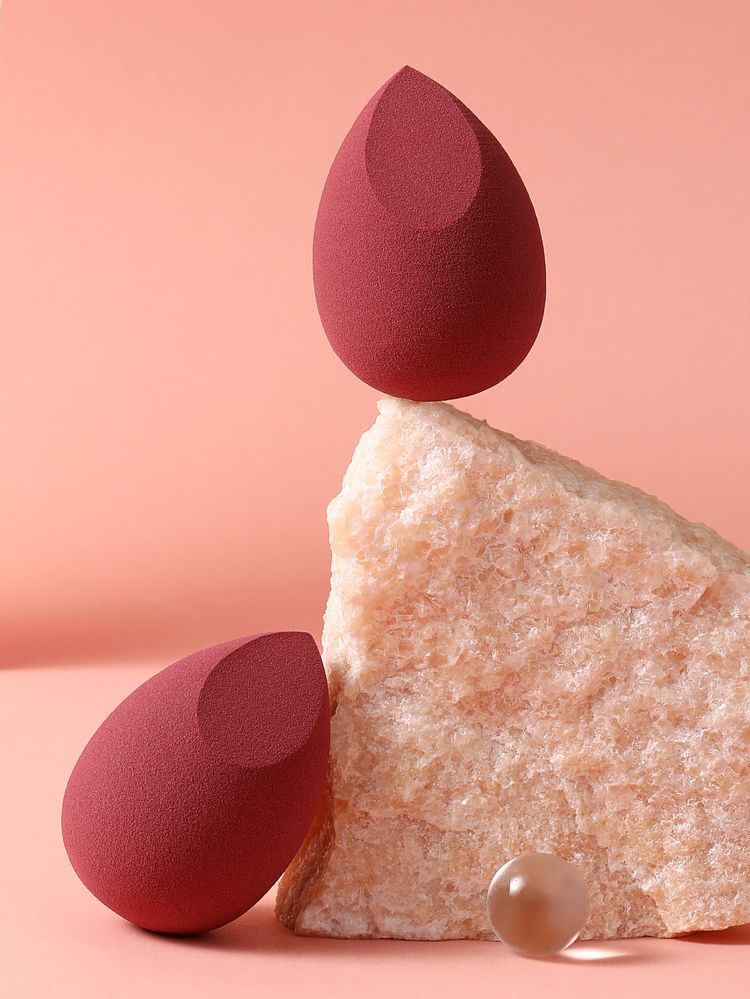
Fortunately, cleaning your makeup sponge doesn’t take too long. Whether you’re using a cleanser, your hand, or simply some dish soap, there are many easy ways and tried-and-true YouTube instructions to help you through the process. Please continue reading, and don’t forget to clean your makeup sponges tonight, okay?
How to clean a beauty sponge with bar soap:
This is the easiest method to start with:
Thoroughly wet your sponge and rub it against the bar soap, taking care to work on stained portions.
Squeeze the sponge out under running water until the water runs clear and the sponge is no longer foamy when squeezed. Repeat step one if stains remain.
Roll the sponge out on a dry towel and let it air dry.
How to clean a beauty sponge with liquid cleanser:
Instead of using bar soap, you can use a liquid cleanser or a gentle shampoo.
Wet the sponge first. Squeeze your makeup sponge under running water until completely saturated and enlarged.
Add the cleanser now. If you’re using a liquid cleanser, pour the soap directly onto the damp sponge and begin massaging, pressing, and pushing it into the center of your moist hand’s palm to work the soap into the sponge. If you’re using bar soap, press down while swiping the bar back and forth to create a lather.
The last step is to rinse: Squeeze the sponge again and set it somewhere to dry after the water has run clear.
How to clean a beauty sponge with the double cleanse method
Using an oil-based cleanser with a water-based one can efficiently remove the remaining makeup on your sponge, just like when you double-cleanse your face.
Pour a small bowl of water over your sponge.
Then add one pump of cleansing oil to assist in removing any remaining makeup and tough stains.
After soaking for a few minutes, massage the sponge into a foaming lather with your regular cleanser before rinsing any leftover dirt and makeup away.
How to clean a beauty sponge using the soak method
Speaking of soaking, a sponge gets cleaner the longer it is soaked. This cleaning method is most effective if you have tough stains to remove or wish to wash several sponges simultaneously.
Before putting your soiled sponges in warm water to soak, wet them and add a few drops of liquid cleanser. Ensure they are completely soaked, and let them soak for a few hours.
Then, apply your preferred solid cleanser using the sponges and gently work it into a lather before completely washing it with clean water. If you’d like, use the silicone mat at this point.
Give the sponges a couple of strong squeezes to remove as much extra moisture as possible, then set them on a paper towel to dry.
How to clean a beauty sponge using the microwave
Your makeup sponges can be cleaned using this approach, which is intriguing because it needs to be done correctly to work. You risk damaging the item if you don’t follow these instructions. Any bacteria growing on the sponge will be destroyed by microwave energy.
Make sure to clean the sponge by soaking it in a cup of warm, soapy water.
Squeeze until completely saturated.
Microwave the cup on high for one minute. Your filthy sponge will be spotless since the soapy water has turned into liquid makeup residue.
When the water is cool enough to handle, rinse and wring out the sponge in running water before putting it away to air dry.
Know when it’s time to replace your makeup sponge.